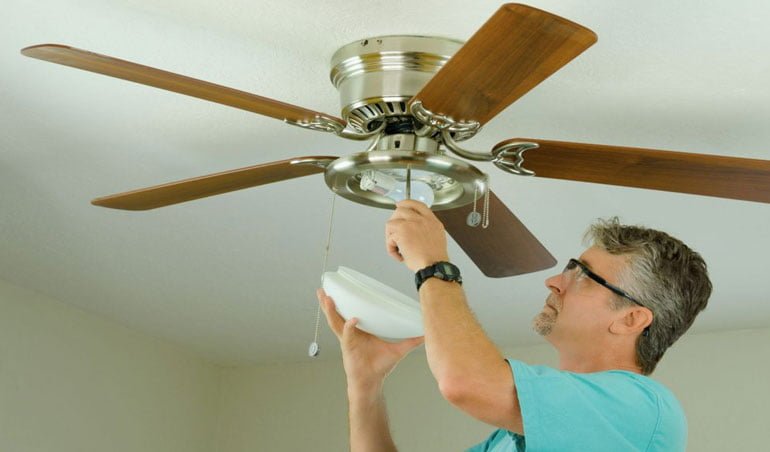
How to Change Light Bulb in Harbor Breeze Ceiling Fan
Most Harbor Breeze ceiling fans with light kits contains a glass globe in order to cover the light bulbs. Some models may come with a chandelier like lighting fixtures where the light bulbs are available. Once the light bulb is burnt out, you are left with no choice other than changing it. After removing the globe, changing the light bulb in Harbor Breeze Ceiling Fan is similar to changing any other bulb. Your ceiling fan may have standard light bulbs installed or any other special ones.
Step 1: Turn off the Power
The first step is to turn off the fan as well as light, turn off the power.
Step 2: Reach the fan
Use a stepladder in order to reach the ceiling fan. Move it to a little to the side to avoid standing directly under the unit, but so you should be in a easy to reach distance without leaning.
Step 3: Unscrew the Globe
Find the location of the globe where it affixes with the fan. the globe might be using 2-3 small screws to keep the globe in place. To unscrew them, use either your screwdriver or your fingers, keep your one hand on the base of the globe to prevent it from falling. If it is without any small screws around the side, gently try to remove the globe from the base by unscrewing it. some Harbor Breeze fans have small nod-like bumps that help the globe to remain in place rather than screws.
Step 4: Remove the Old Harbor Breeze Light Bulb
Set the glass globe down to remove the light bulbs inside the fan. Place them in a safe place. If you do not have new bulb replacements, take the old sample with you for matching to purchase the new one.
Step 5: Install the new light bulbs
In this step, install the new light bulb in your Harbor Breeze fan. Get off the ladder and check the lights by turning them on to ensure they are working.
Step 6: Attach the Glass Globe
Attach the glass globe again in the similar way you removed it.

